In this thread, Eclipse has shared a full guide on how to setup a Track Order page for 100% FREE.
Order tracking is essential to running a Shopify Store.
- Builds more trust with the customer.
- Lets the customer track their order.
- Reduces risk of chargeback
The problem is that most Order Tracking apps can be expensive.
When you’re doing 1,000+ orders monthly – the fees begin to add up.
So below, I’ll share my FREE Track Order Page method.
Here is what the final product looks like.
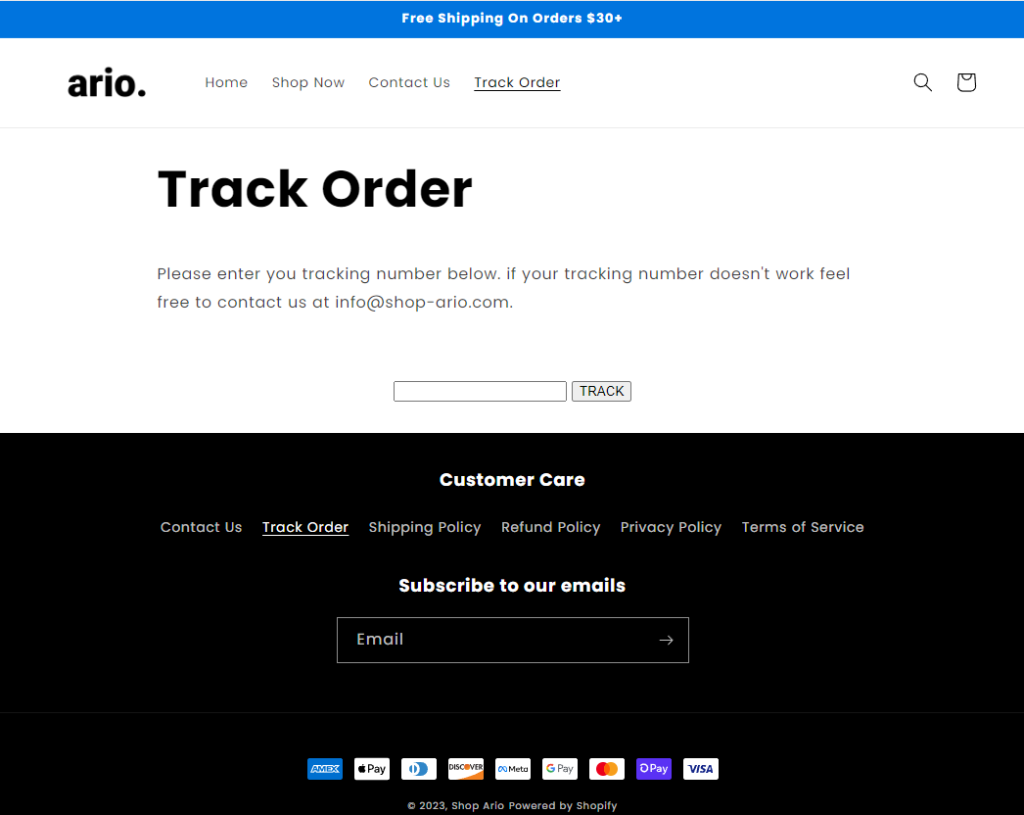
The customer can enter their Order # and Shopify will pull up their tracking link.
Here’s how to set it up:
Go to Online Store → Pages
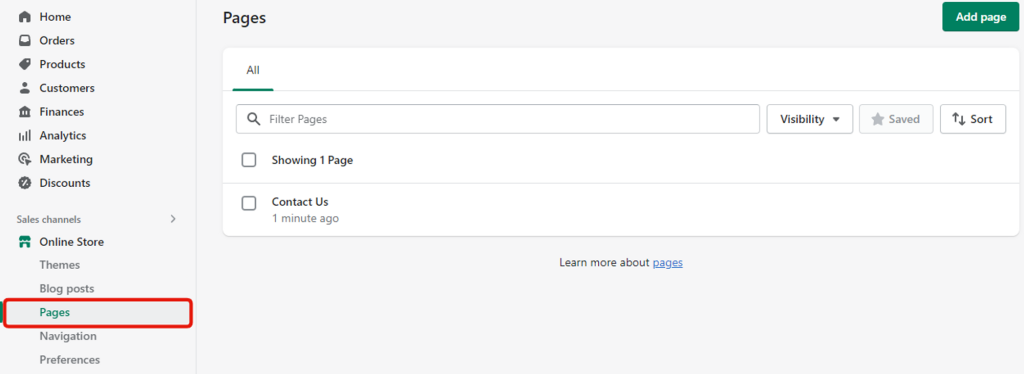
Add Page → Title: Track Order
Click the <> icons
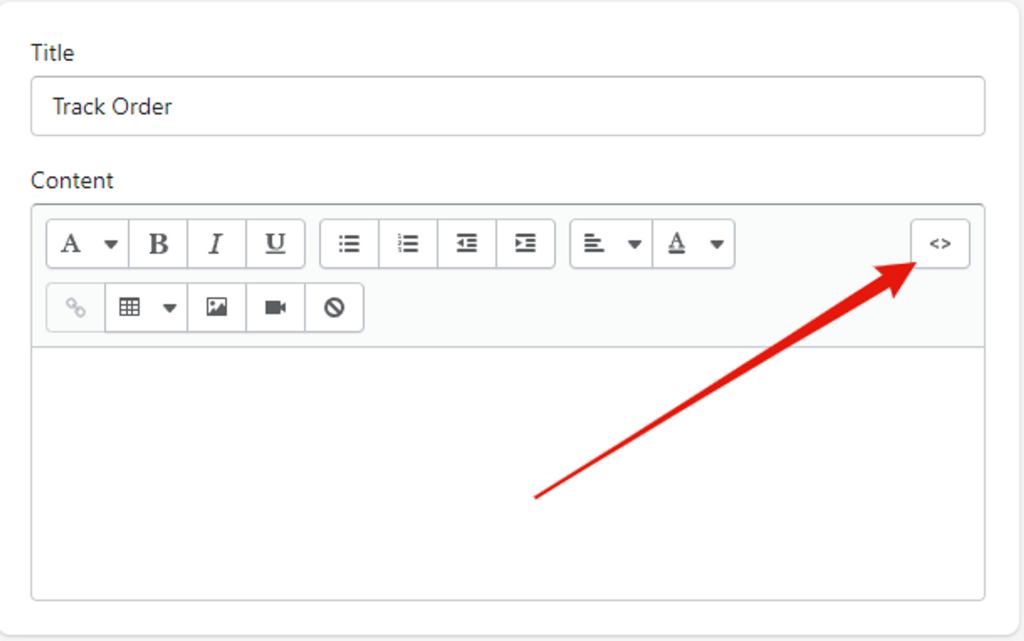
Paste the track order code in the content
<p>Please enter you tracking number below. if your tracking number doesn't work feel free to contact us at support@yourstorename.com.</p>
<p> </p>
<div style="text-align: center;"><!--Tracking number input box.--> <input type="text" id="YQNum" maxlength="50" /> <!--The button is used to call script method.--> <input type="button" value="TRACK" onclick="doTrack()" /> <!--Container to display the tracking result.--></div>
<div id="YQContainer"></div>
<!--Script code can be put in the bottom of the page, wait until the page is loaded then execute.-->
<script type="text/javascript" src="//www.17track.net/externalcall.js"></script>
<script type="text/javascript">// <![CDATA[
function doTrack() {
var num = document.getElementById("YQNum").value;
if(num===""){
alert("Enter your number.");
return;
}
YQV5.trackSingle({
//Required, Specify the container ID of the carrier content.
YQ_ContainerId:"YQContainer",
//Optional, specify tracking result height, max height 800px, default is 560px.
YQ_Height:560,
//Optional, select carrier, default to auto identify.
YQ_Fc:"0",
//Optional, specify UI language, default language is automatically detected based on the browser settings.
YQ_Lang:"en",
//Required, specify the number needed to be tracked.
YQ_Num:num
});
}
// ]]></script>
Click the <> icons again → Update the store email
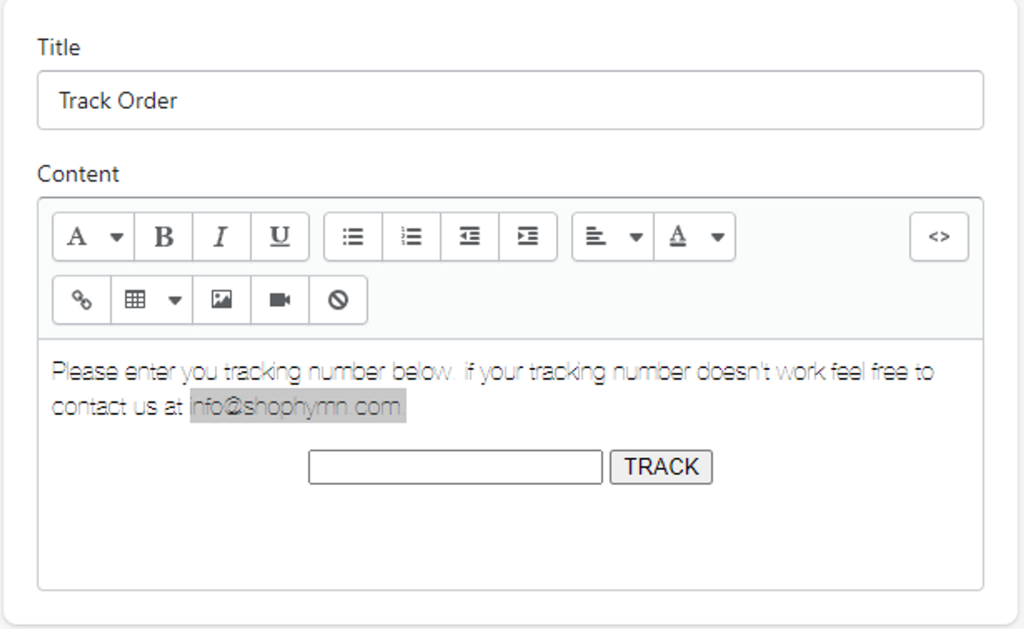
Save.
If you liked this post, make sure to thank Eclipse.